

How To Clean And Grease A Lach On A Film Camera
Treasures are frequently buried under dirt. Well, that'south usually the example, anyway. Treasures for photographers may mean finding a working copy of their dream photographic camera at a flea market or on the second-paw camera marketplace. Withal, generally, the photographic camera may not exist looking great.
Some photographers don't keep their gear in a dry box, and afterward years of neglect, tarnishing may appear on the chrome surface, and dust/clay may get in between the gaps. The calorie-free seal may have stale up and therefore crumble into fine, black particles when yous open the film sleeping accommodation.
At this point in time, yous may whip out your microfiber material and dust blower, and say, "ok, let'due south make clean this up."
Just afterward an hour or so of polishing, the tarnish is still there, stubborn specks of grit may still get stuck in the film bedroom and between dials. What now?
Let us accept you lot through a quick guide on how to clean upward your photographic camera.
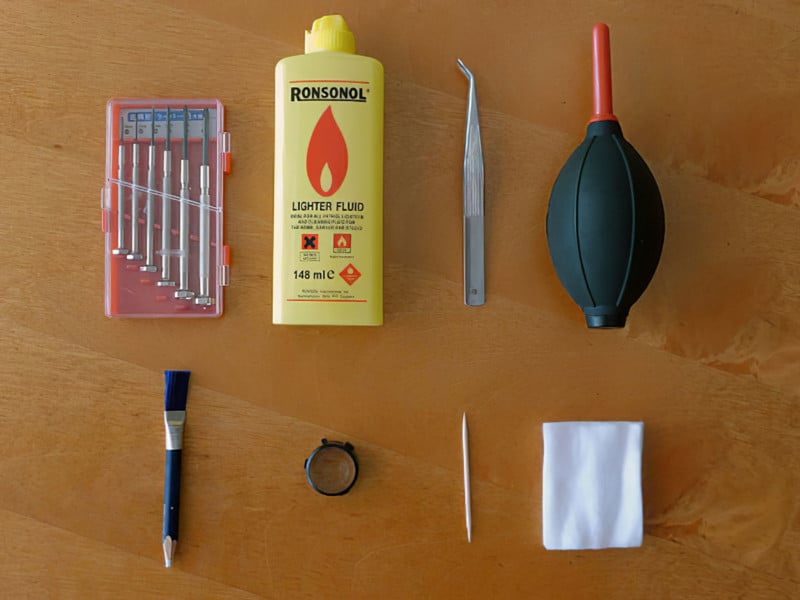
Tools You'll Need
- Pincer with fine ends. Sharpened or wearisome doesn't matter
- Toothpicks
- Dust blower
- Cotton pads or balls
- Lighter fluid or rubbing alcohol (AKA isopropyl cleaning alcohol). Both commonly available in hardware stores and pharmacies, respectively
- Eraser
- Screwdriver (optional)
- Magnifying drinking glass (optional)
Step 1. Clean the Surface
Make clean the surface y'all are going to work on. We wipe it with a damp cloth, let the surface to dry out, then use a handheld vacuum to suck upwardly whatsoever remaining particles. Make sure that yous have ample lighting for the workstation.
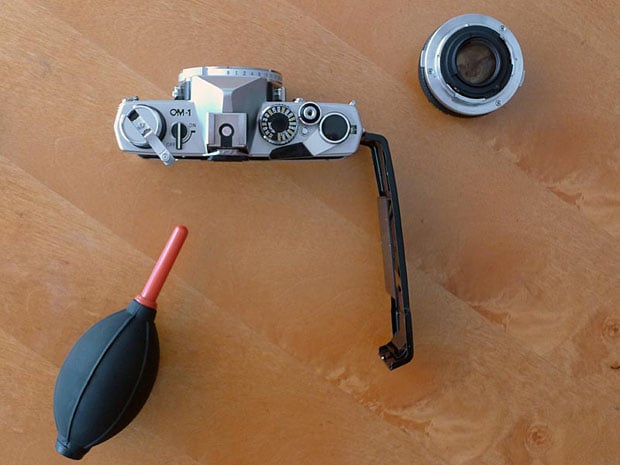
Step 2. Assess the Condition
Appraise the condition of your camera for any loose parts. Take caution of these parts. Detach any lens fastened to the camera, obviously, for interchangeable lens cameras just.
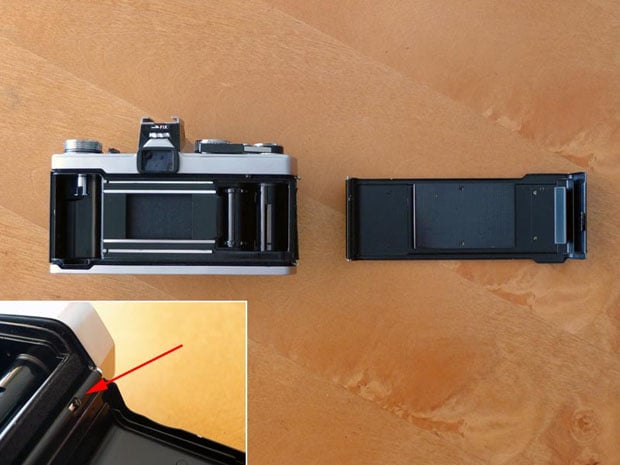
Step 3. Blow the Film Sleeping room
Open up the film chamber, and while holding the camera upside down (with the motion-picture show sleeping room facing downwardly), use the grit blower and blow as many areas as possible. This is to affluent out any dust particles in the chamber.
If the light seal has dried upwards, be careful not to affect information technology and create more mess. If you need to replace the calorie-free seal, make sure y'all do that after the whole camera is cleaned. Proceed to utilize the dust blower on the surface of the camera to remove any other clay.
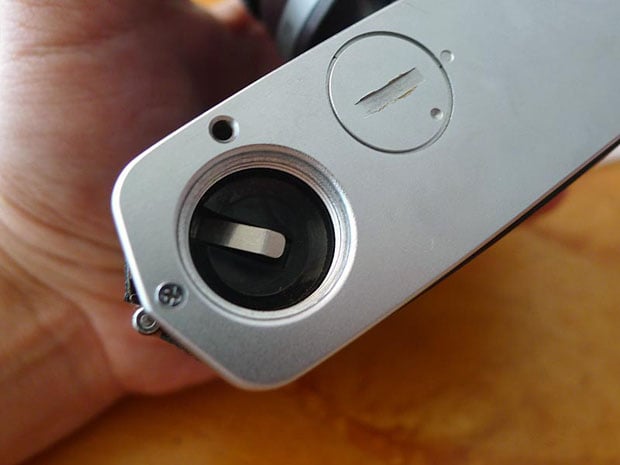
Step 4. Clean Visible Tarnishes
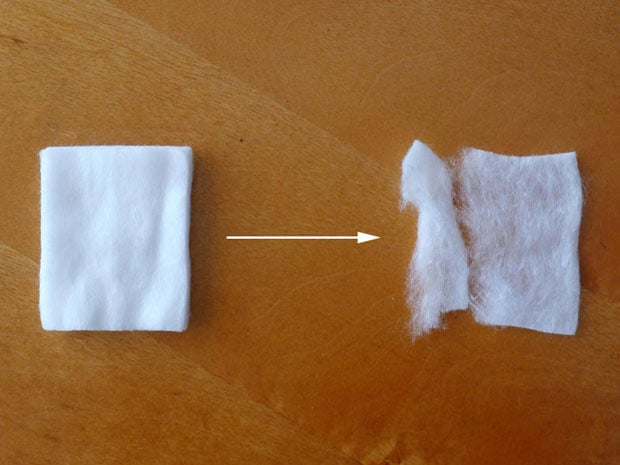
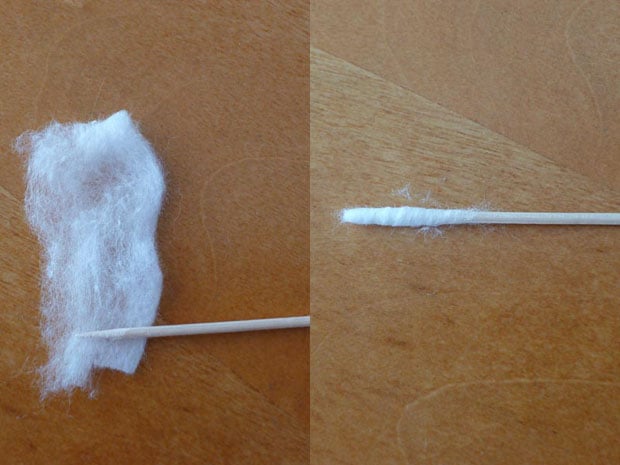
Tear or shred up the cotton pad/ball, and then roll the loose cotton onto 1 end of the toothpick. Don't brand a large ball at the cease. Just thick enough like the illustration at the lesser would practise. Soak the cotton fiber end of the toothpick in lighter fluid or cleaning alcohol.
Proceed to use the soaked cotton end of the toothpick to clean away any visible tarnishes on the camera. Have circumspection not to oversoak the cotton.
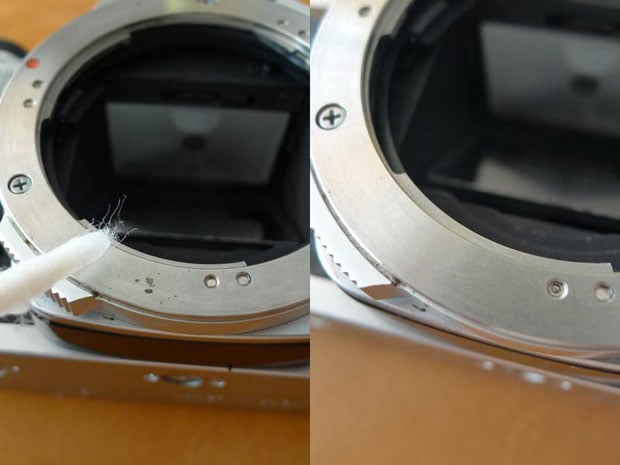
The fluid should dry upwards without leaving any residue or marks. If it does, discard the cotton fiber and attempt again.
Footstep 5. Erase Stubborn Stains
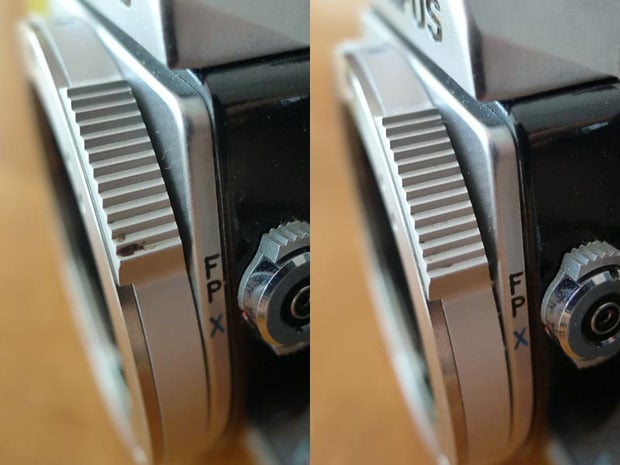
For stubborn stains and/or tarnish, utilize an eraser and rub them on the surface gently. Nosotros like the Lens Pen lens cleaner every bit the fine tips (after sharpening) allow y'all to clean the grooves on dials that may be hard to achieve. But at the same time, remember that using an eraser will go out crumbs. Use a castor to clean them abroad.
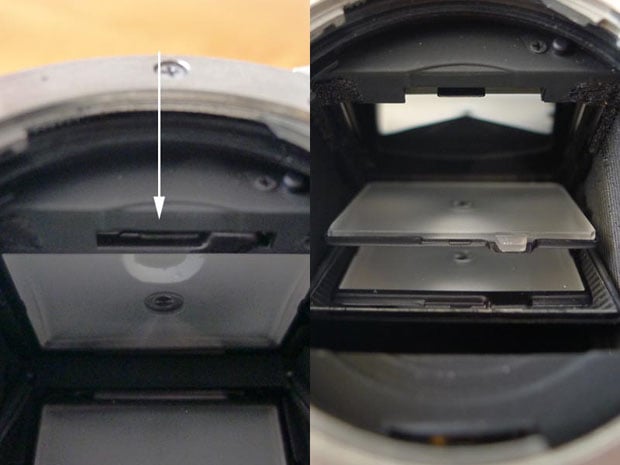
Step 6. Clean the Basis Glass and Prism
Now that we are washed with the external of the camera, permit'due south go into the camera. Most SLRs of the past have a basis glass, and dust might accept settled on information technology. Use a pincer and gently elevator the latch, usually located just behind the lens mount. Information technology should drop down easily.
To clean the ground glass, apply a clammy cotton pad and wipe information technology in one direction. Some lint may be left on it, so use a microfibre textile or a dust blower to remove them.
If your camera's prism can be removed (usually requiring a screwdriver), take it out and clean the surfaces.
Step 7. Clean the Mirror and Viewfinder
Now all that is left is to clean the mirror (for SLRs) and the viewfinder. Use a toothpick with shredded cotton on one end and clammy it with cleaning alcohol or lighter fluid. Gently castor it across the mirror and/or viewfinder. Remove whatsoever lint with a dust blower.
Step 8. Make clean the Battery Compartment
If your camera has a bombardment compartment, open up it to brand certain that no previous bombardment leaks have corroded the contacts. Use a dust blower to remove any dust, and if yous desire, utilize lighter fluid or cleaning booze to clean the contacts. Remember to let it dry fully before putting the bombardment back in.
Then, there you accept information technology. Quick steps to restoring the outlook of your photographic camera.
When information technology comes to storing motion-picture show cameras, it is advisable to remove the battery (if any), ready the shutter to Bulb, have a shot just Exercise Non accelerate the movie lever. This is to minimize the tension on the springs activating the shutter pall.
Near the writer: Make Good Cameras is an online camera shop that sells quaint, handpicked (and sometimes handmade) accessories for cameras.
Source: https://petapixel.com/how-to-clean-vintage-camera/
Posted by: casnerwherted.blogspot.com
0 Response to "How To Clean And Grease A Lach On A Film Camera"
Post a Comment